
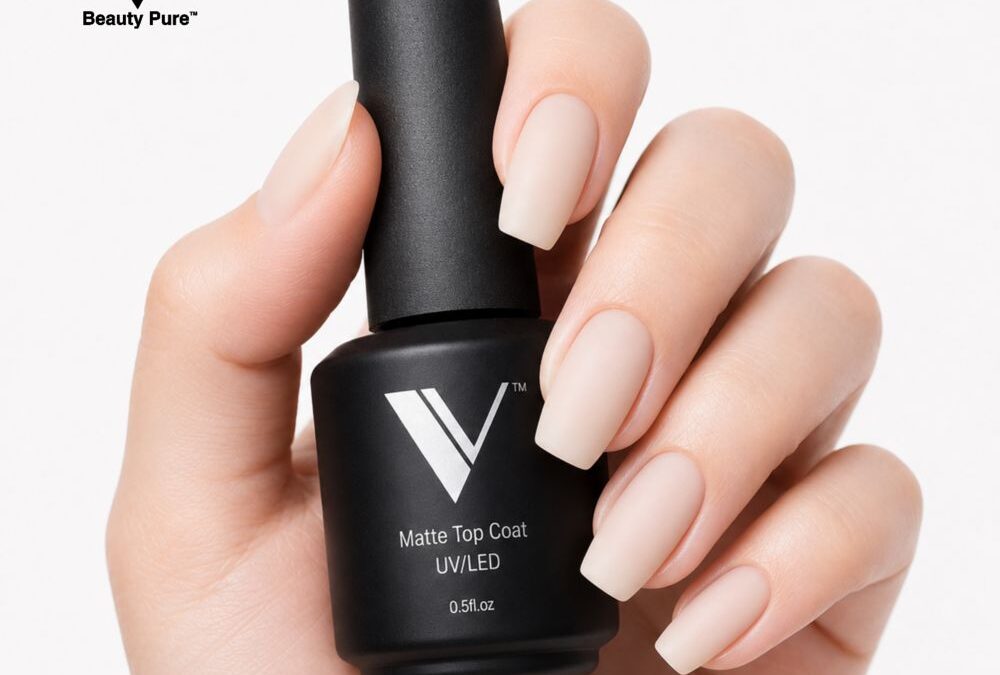
Curious which steps matter most when you apply non wipe matte top coat? This ranked checklist teases the exact sequence you should follow to get a velvety, scratch-resistant finish every time.
- Key takeaways
- Prioritize surface prep and thinning layers to prevent lift.
- Use the non-wipe property to save time—but cap correctly.
- Cure times and lamp choice influence durability more than looks.
Why The Matte Surface Comes First
Why is the ultra-matte finish the top feature? Because the whole service—look, client expectations, and technique—starts with that non-reflective texture. What does this mean for you? You must treat the matte effect as a functional outcome, not just an aesthetic one. When you apply non wipe matte top coat from V Beauty Pure, you are sealing in a velvet, dry-to-touch surface that eliminates the inhibition-layer step. How should that change your workflow? Reduce wet-handling and plan your nail art contrasts before curing since the surface will be fully non-sticky straight out of the lamp.
What The Non-Wipe Formula Changes In Practice
What comes second in importance? The non-wipe chemistry. Why rank it here? Because it removes a whole step from your service and affects product choice, drying sequence, and timing. Question: Do you still prep as you would for a wipe top coat? Answer: Yes—clean, buff, and degrease—but then trust the formula: after curing you won’t need alcohol cleansing. How to use it: apply a thin, even layer and cap the free edge; cure under LED for 30–60 seconds. That non-sticky surface is what lets you move straight to client handoff or additional nail art without smudging.
What Layer Thickness Does for Longevity
When does thickness become the deciding factor? Middle of the list, because application technique directly controls durability. Why does a thin, controlled coat matter? Too thick and you risk wrinkling or poor cure; too thin and you lose scratch resistance. How to achieve the right thickness: brush off excess, aim for a smooth, self-leveling pass, and cap the free edge on the first coat. If you need stronger protection for overlays, add a second thin pass rather than one heavy layer.
Why Curing Protocols Are High on the List
Why rank curing next? Because lamp type and cure time determine cross-linking and final hardness. What should you do? Use an LED lamp for the 30–60 second cure window stated for this product, or a compatible UV if that’s your lamp. When should you extend cure time? With thicker applications or crowded lamps where energy distribution varies. Always check tack—there should be no sticky inhibition layer after cure.
What Scratch and Stain Resistance Mean for Clients
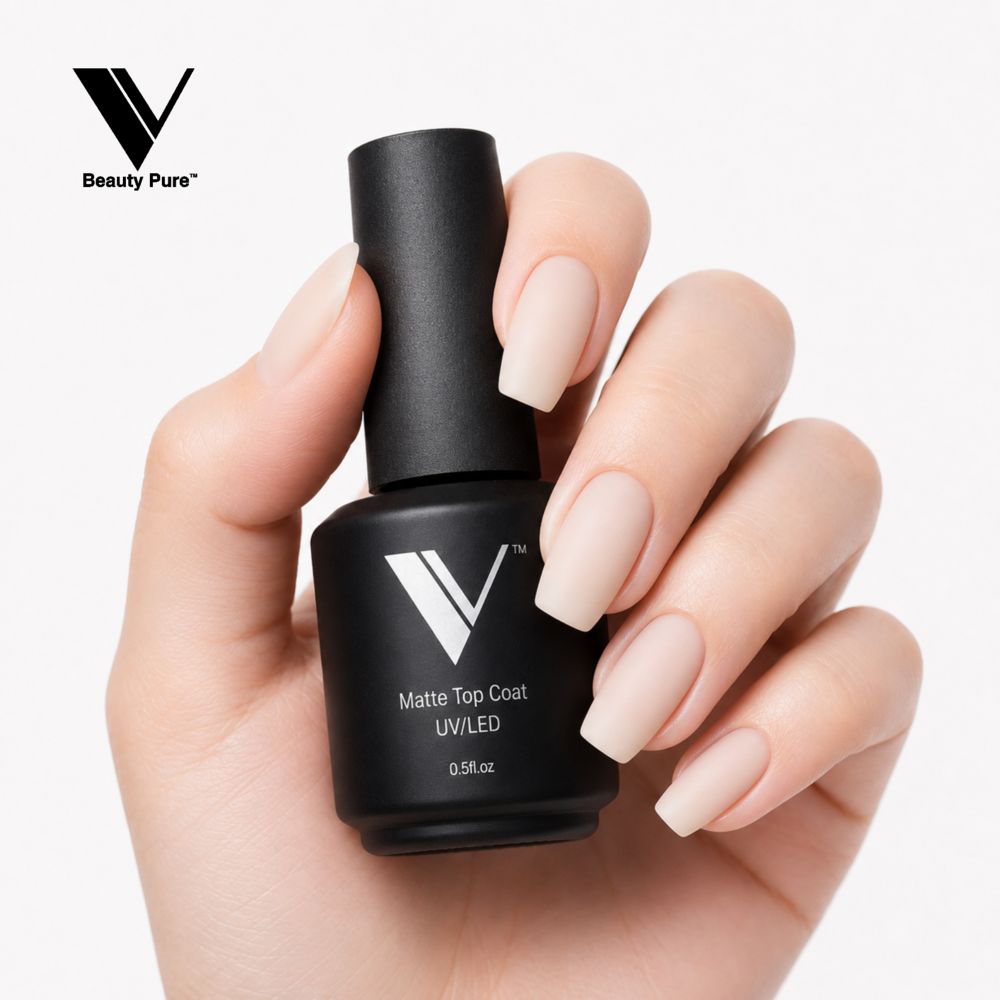
When do scratch resistance and stain protection matter most? For active clients and long-wear services. Why include this as a ranked feature? Because it affects client satisfaction and rebooking. What to tell clients: the matte finish resists everyday wear and helps prevent chipping for longer sets—expect professional durability when applied correctly. Note the hands-on photo shows soft nude, near-skin-tone nails finished with the matte bottle held against a matte black trim, which underlines the understated, professional look you offer.
When Versatility Becomes Useful
What about compatibility with different systems? When you need one top coat to finish gel polish, builder gel, or acrylic enhancements, this feature moves up in value. Why? It simplifies inventory and reduces product switching. How should you leverage it? Use the same non-wipe matte coat across systems, taking the same precautions: thin layers, cap edges, and consistent curing.
When Appearance and Service Speed Matter
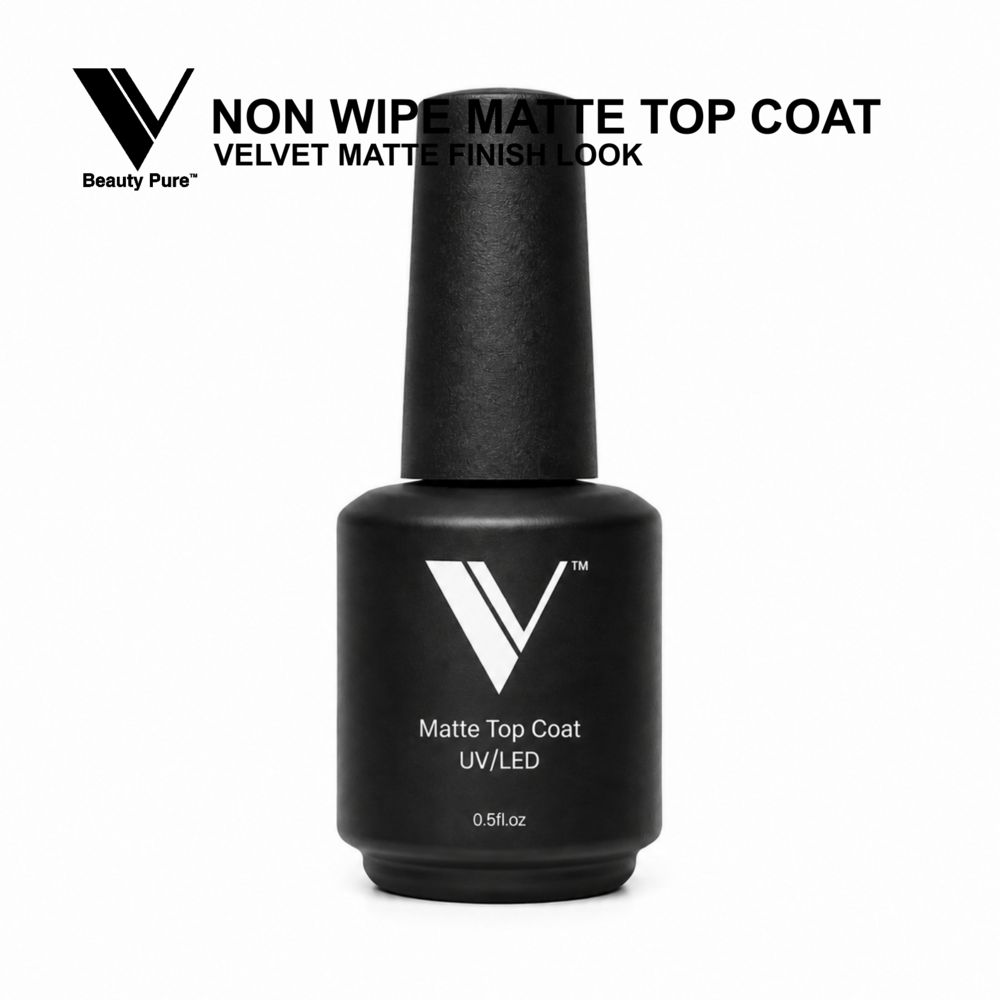
Why place the bottle’s matte black trim and minimalist palette last among ranked features? Because cosmetic identity is secondary to performance for salon owners. What does it add? A clean, professional presentation—soft nude model nails with pale beige and blush undertones in imagery show how well the matte finish flatters everyday, bridal, and office-appropriate sets. When you combine that look with the time saved from non-wipe curing, the overall client experience improves.
Final step-by-step checklist (short):
- Prep: clean, dehydrate, and lightly buff the natural nail.
- Base and color: cure fully and optionally wipe inhibition layer from color for smoothness.
- Apply: one thin, even coat of non-wipe matte top coat; cap free edge.
- Cure: LED 30–60 seconds (extend slightly for thick layers).
- Inspect: confirm no tack; if needed, apply a second thin coat and repeat.
- Finish: advise clients that nails are ready to touch immediately.
When To Use It And Safety Notes
When should you choose this product? For matte services, matte/gloss contrast nail art, chrome isolation, and any manicure where you want immediate, non-sticky handling. What safety notes apply? Follow lamp manufacturer guidance, avoid skin exposure to uncured product, and store the bottle away from direct heat. Price is $14.70 and may change.
Final verdict: If you want a true ultra-matte finish that saves salon time and improves durability when you apply non wipe matte top coat correctly, this matte-focused product delivers professional, velvety results every service. For product details and to consider stocking it, see this link: